
This is an educational and fun project that can easily be re-created at home for your teen. It’s a way to get outside and moving for a few hours, all while spending quality time together.
Here are some tips for making a simple leaf collection.
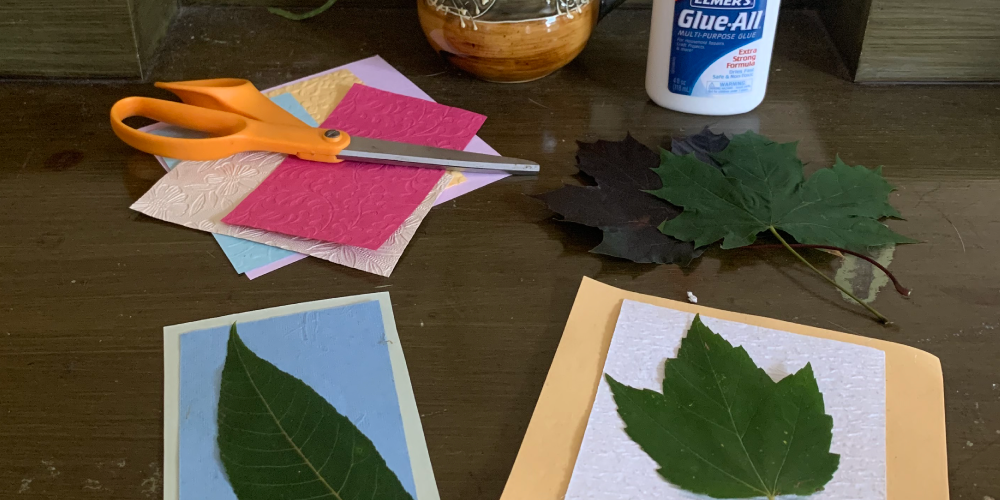
Supplies
- Leaf and/or flower identification book (you can borrow these from most libraries)
- Scissors
- Large books for pressing
- Stock paper (get creative and pick paper in fun colors)
- Elmer’s glue
- Paint brush
- Binder and sleeves, frames, cards (optional)
Steps
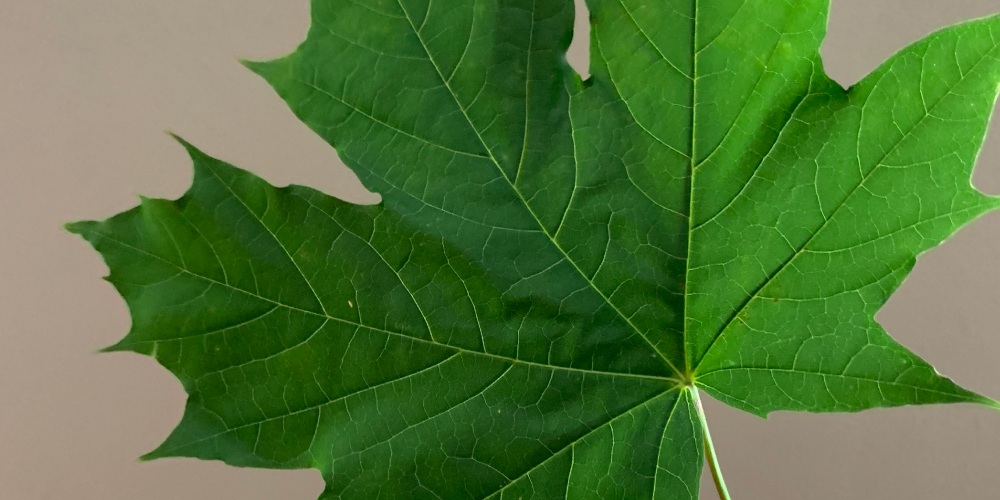
- Collect as many leaves and flowers as you want.
- Place them in a large book and put more weight on top for about 10 days.
- After 10 days, carefully remove specimens from book.
- Thin glue with water.
- Use a wet paint brush to gently paint the flower with glue.
- Attach to stock paper and let dry.
- Identify plant using book.
- Label card stock with identification (optional)
Important Tips
- Do not pick endangered or protected species.
- Make sure flowers/leaves are dry.
- Pick leaves/flowers that are in good condition with no damage or blemishes.
Display Ideas
- Use a three ring binder to organize your leaves (with identification) and flip through them each year.
- For leaves that turn out particularly well, you might want to purchase some picture frames to display them. The Salvation Army usually has some low cost frames for sale.
- Attach them to homemade cards for a personal touch.